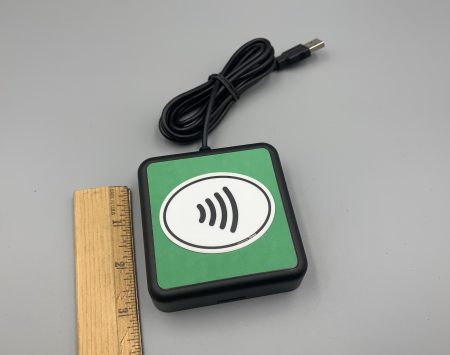
The FloBLE Mini is a combination NFC Reader and BLE Beacon in one. It’s capable of reading ISO14443 Type A and B tags as well as ISO15693. It’s designed with low power performance in mind and extreme portability. It operates on 4 AAA batteries and no power switch. Currently, the FloBLE Mini firmware is still evolving and will need to be updated to stay compatible with our iOS/Android SDKs. We will soon achieve over-the-air programmability but until then, you will need the following to flash new firmware onto the board:
- CC Debugger JTAG Emulator hardware.
- SmartRF Flash Programmer software.
- Windows Vista or Windows 7 based PC with Administrator privileges
- 4 AAA Batteries
- FlomioNFC.hex firmware file (distributed here)
- iOS device (iPhone, iPad, iPodTouch) with latest release
- Mac OSX based PC with Xcode development tools
1Install the SmartRF Flash Programmer
Download the SmartRF Flash Programmer software and install on your Windows Vista/7 based PC. The installation will require Administrator privileges so make sure you’re logged in with the appropriate account. Once installed click the SmartRF Flash Programmer icon on your desktop to launch the application.
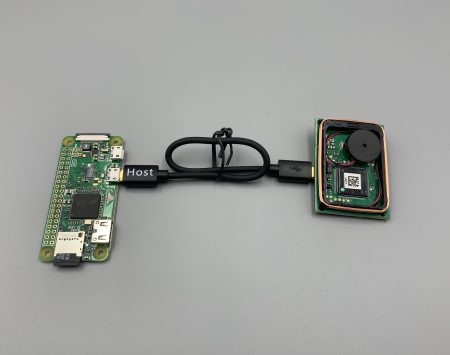
2Connect CC Debugger JTAG to FloBLE Mini
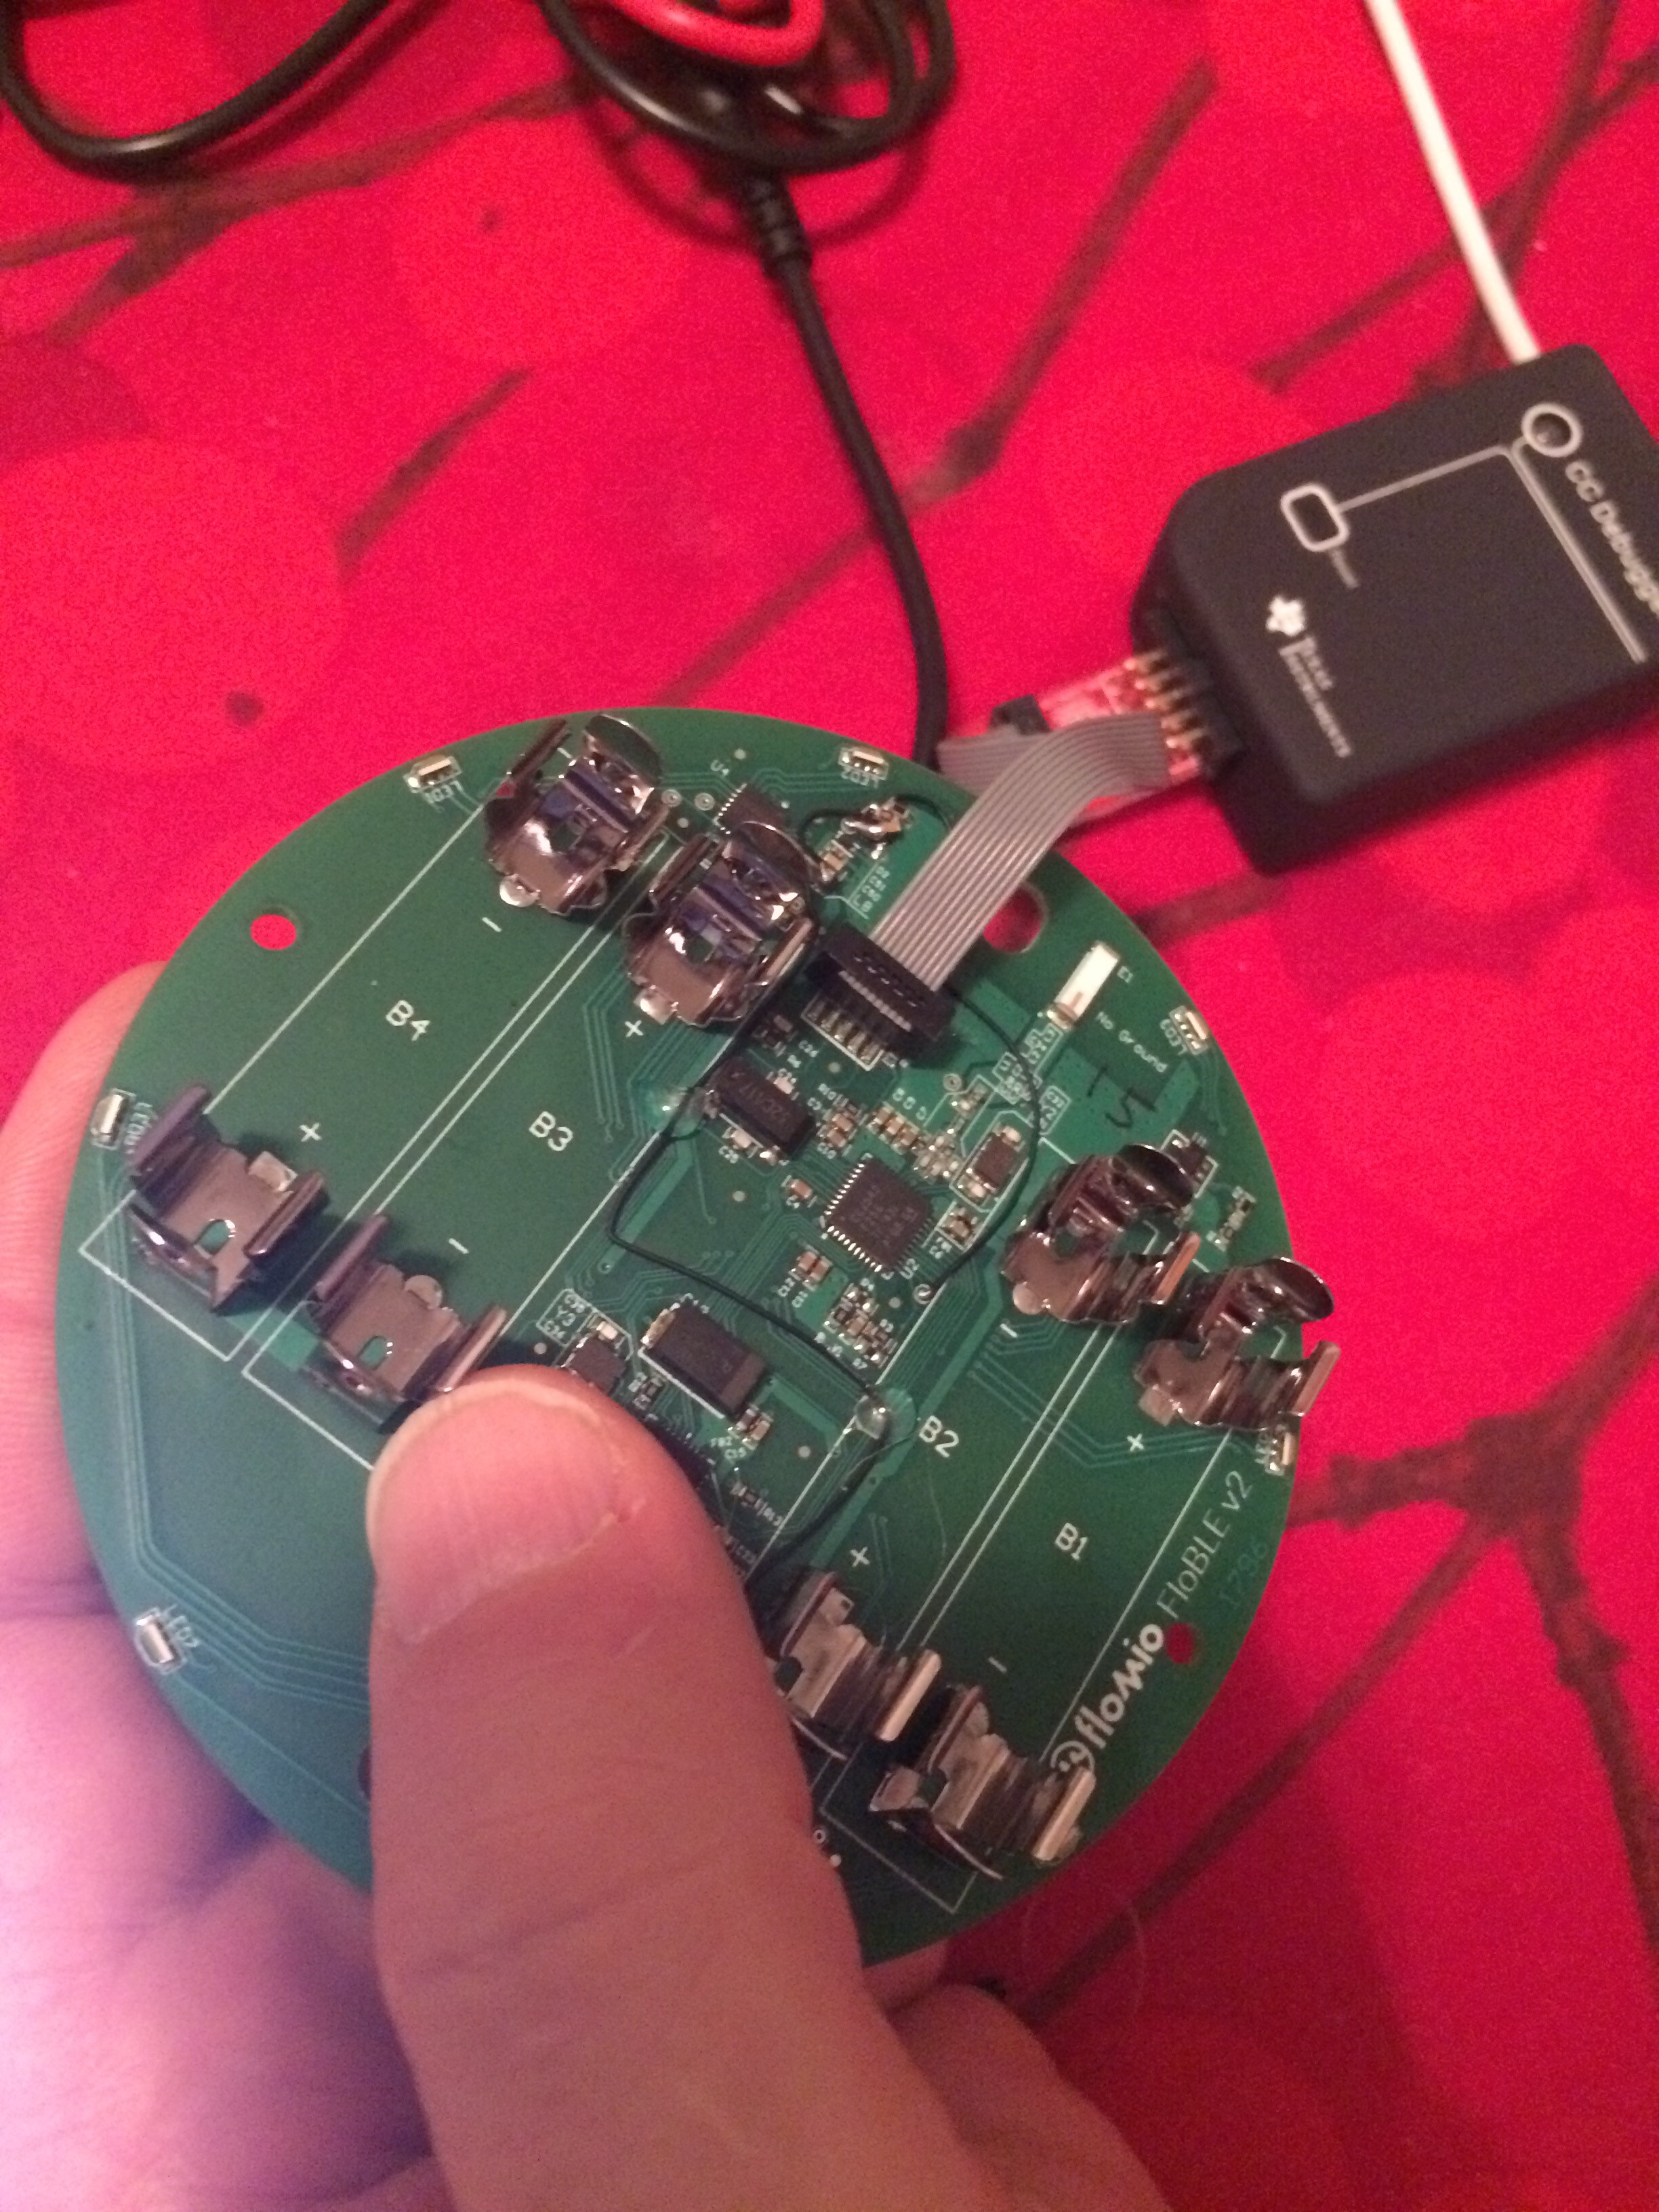
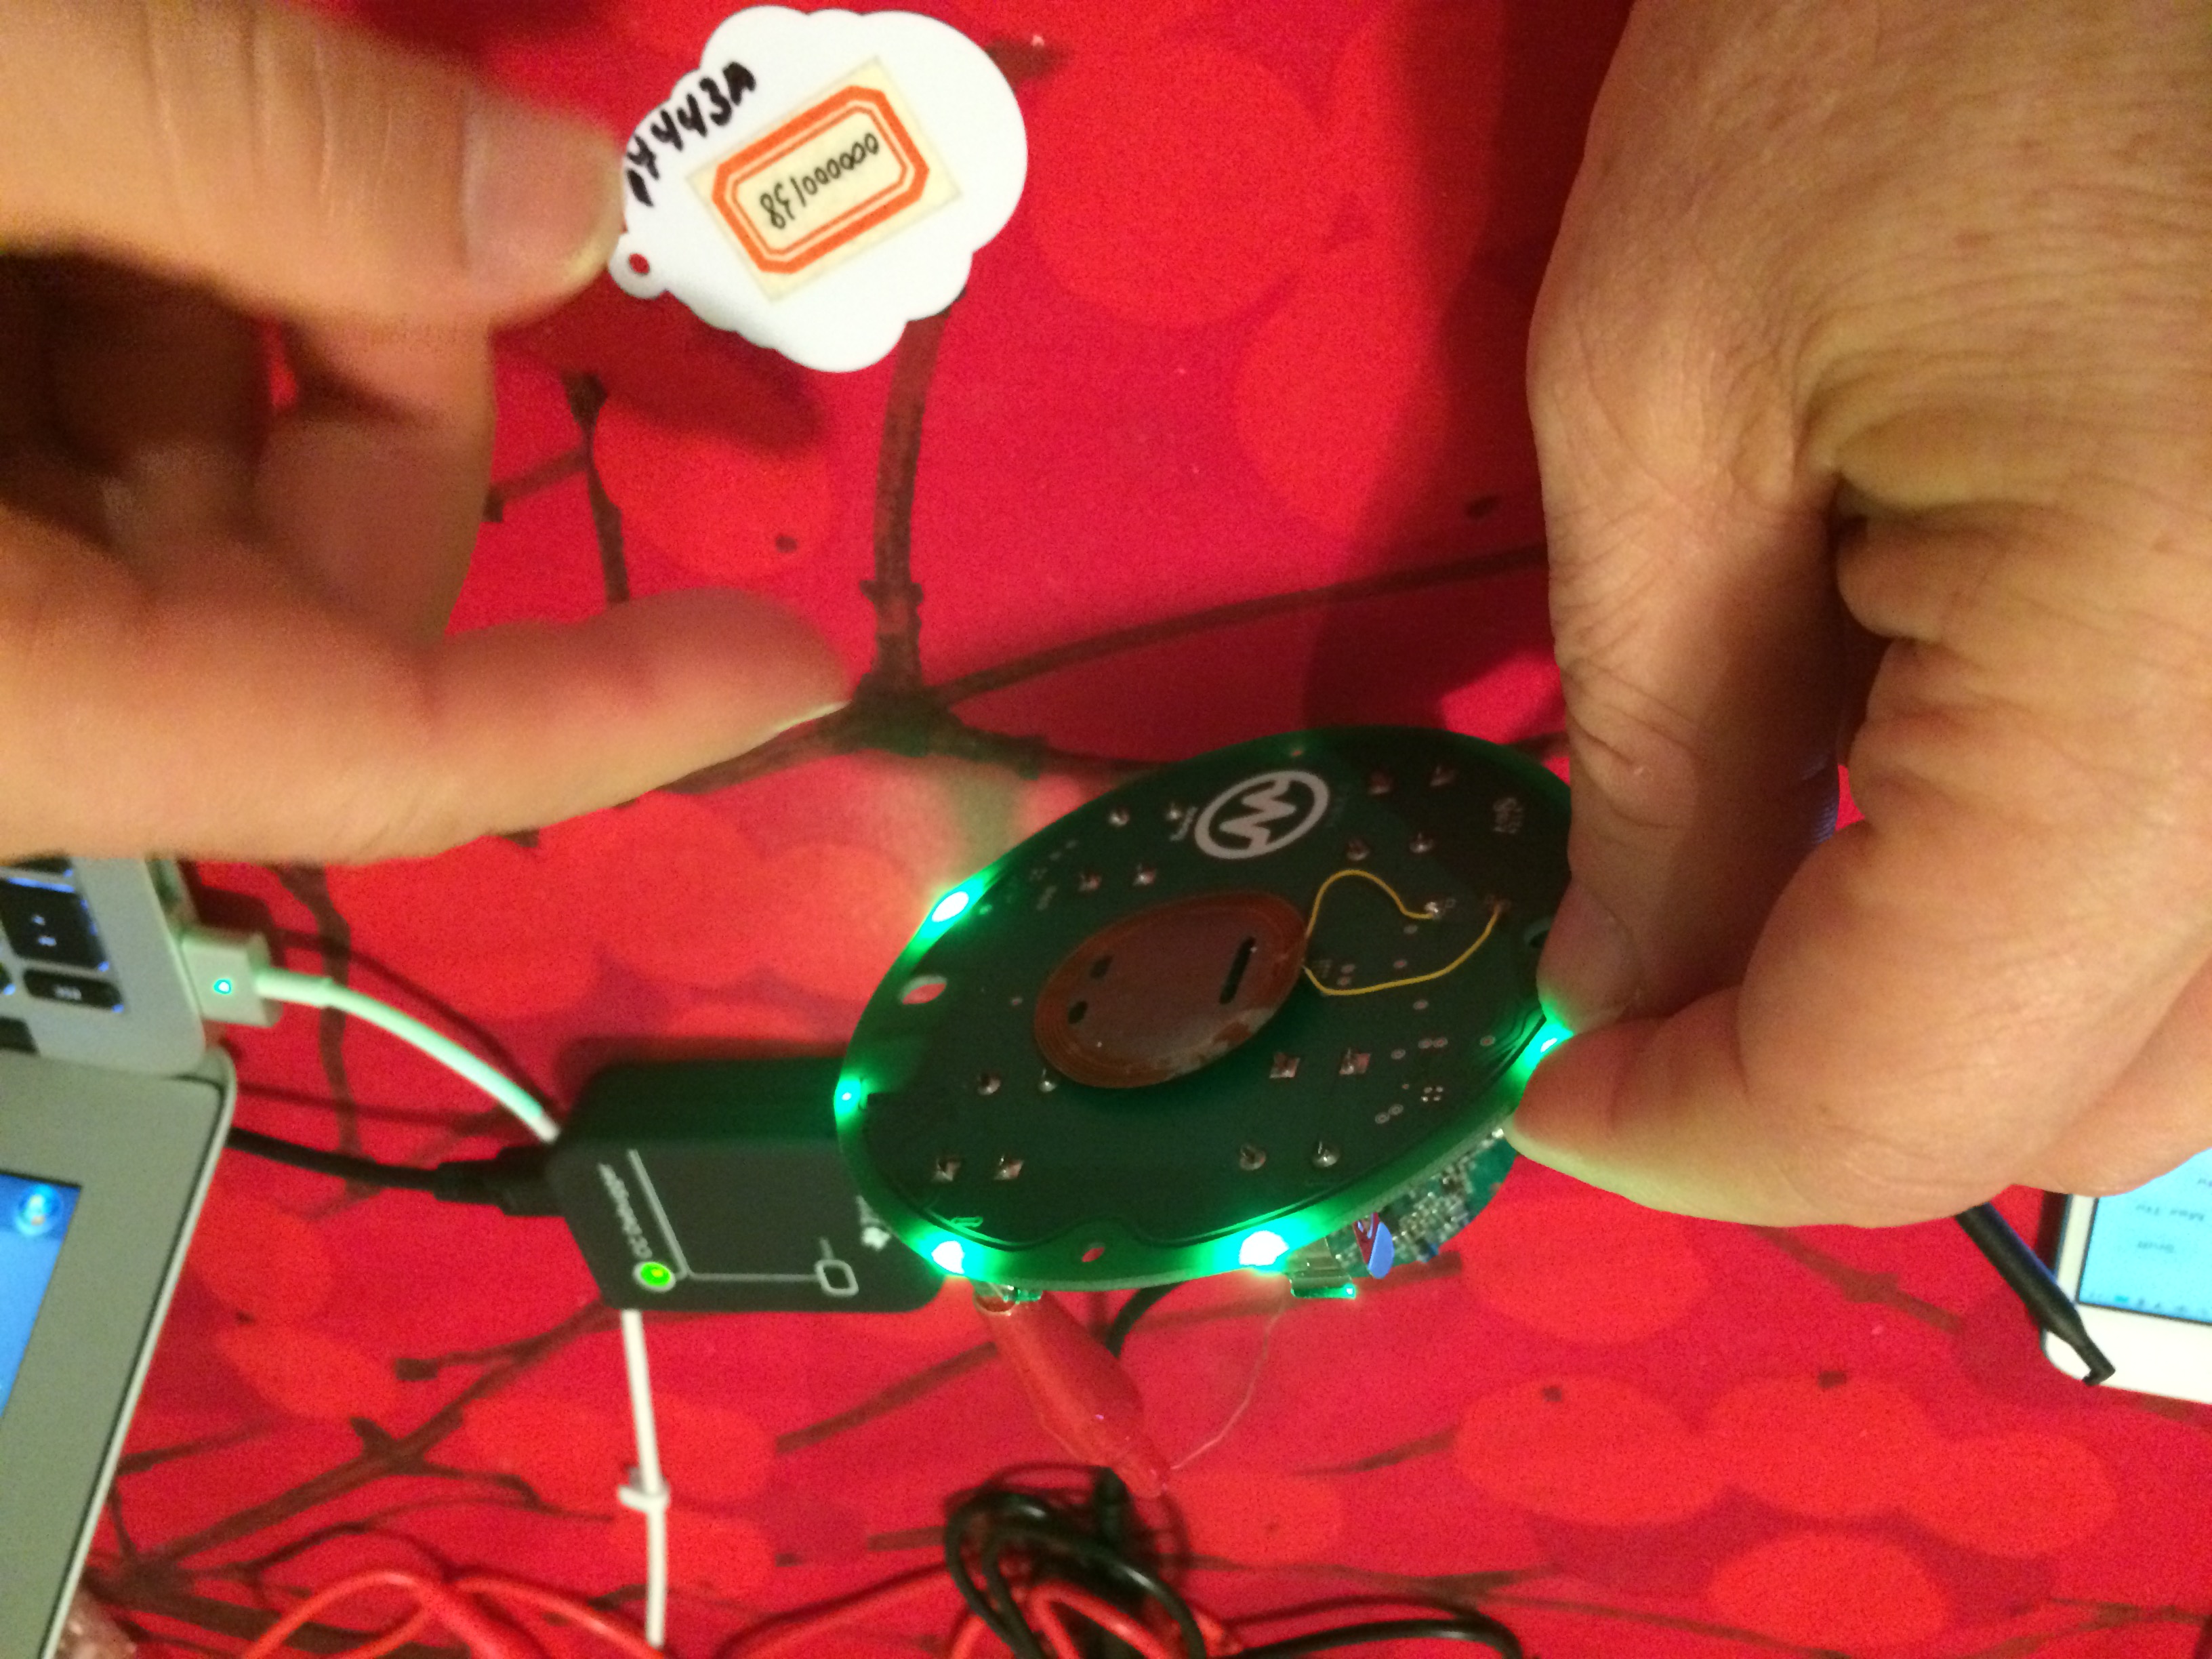
Using red daughterboard included in CC Debugger kit and 10pin ribbon cable, connect the JTAG to the J1 header on the FloBLE Mini. Note the image to orient the connector such that the ribbon runs off the edge of the board. Connect the other end of the JTAG to your PC with the included USB cable. You should see the red LED of the JTAG turn on.
3Install 4 AAA Batteries
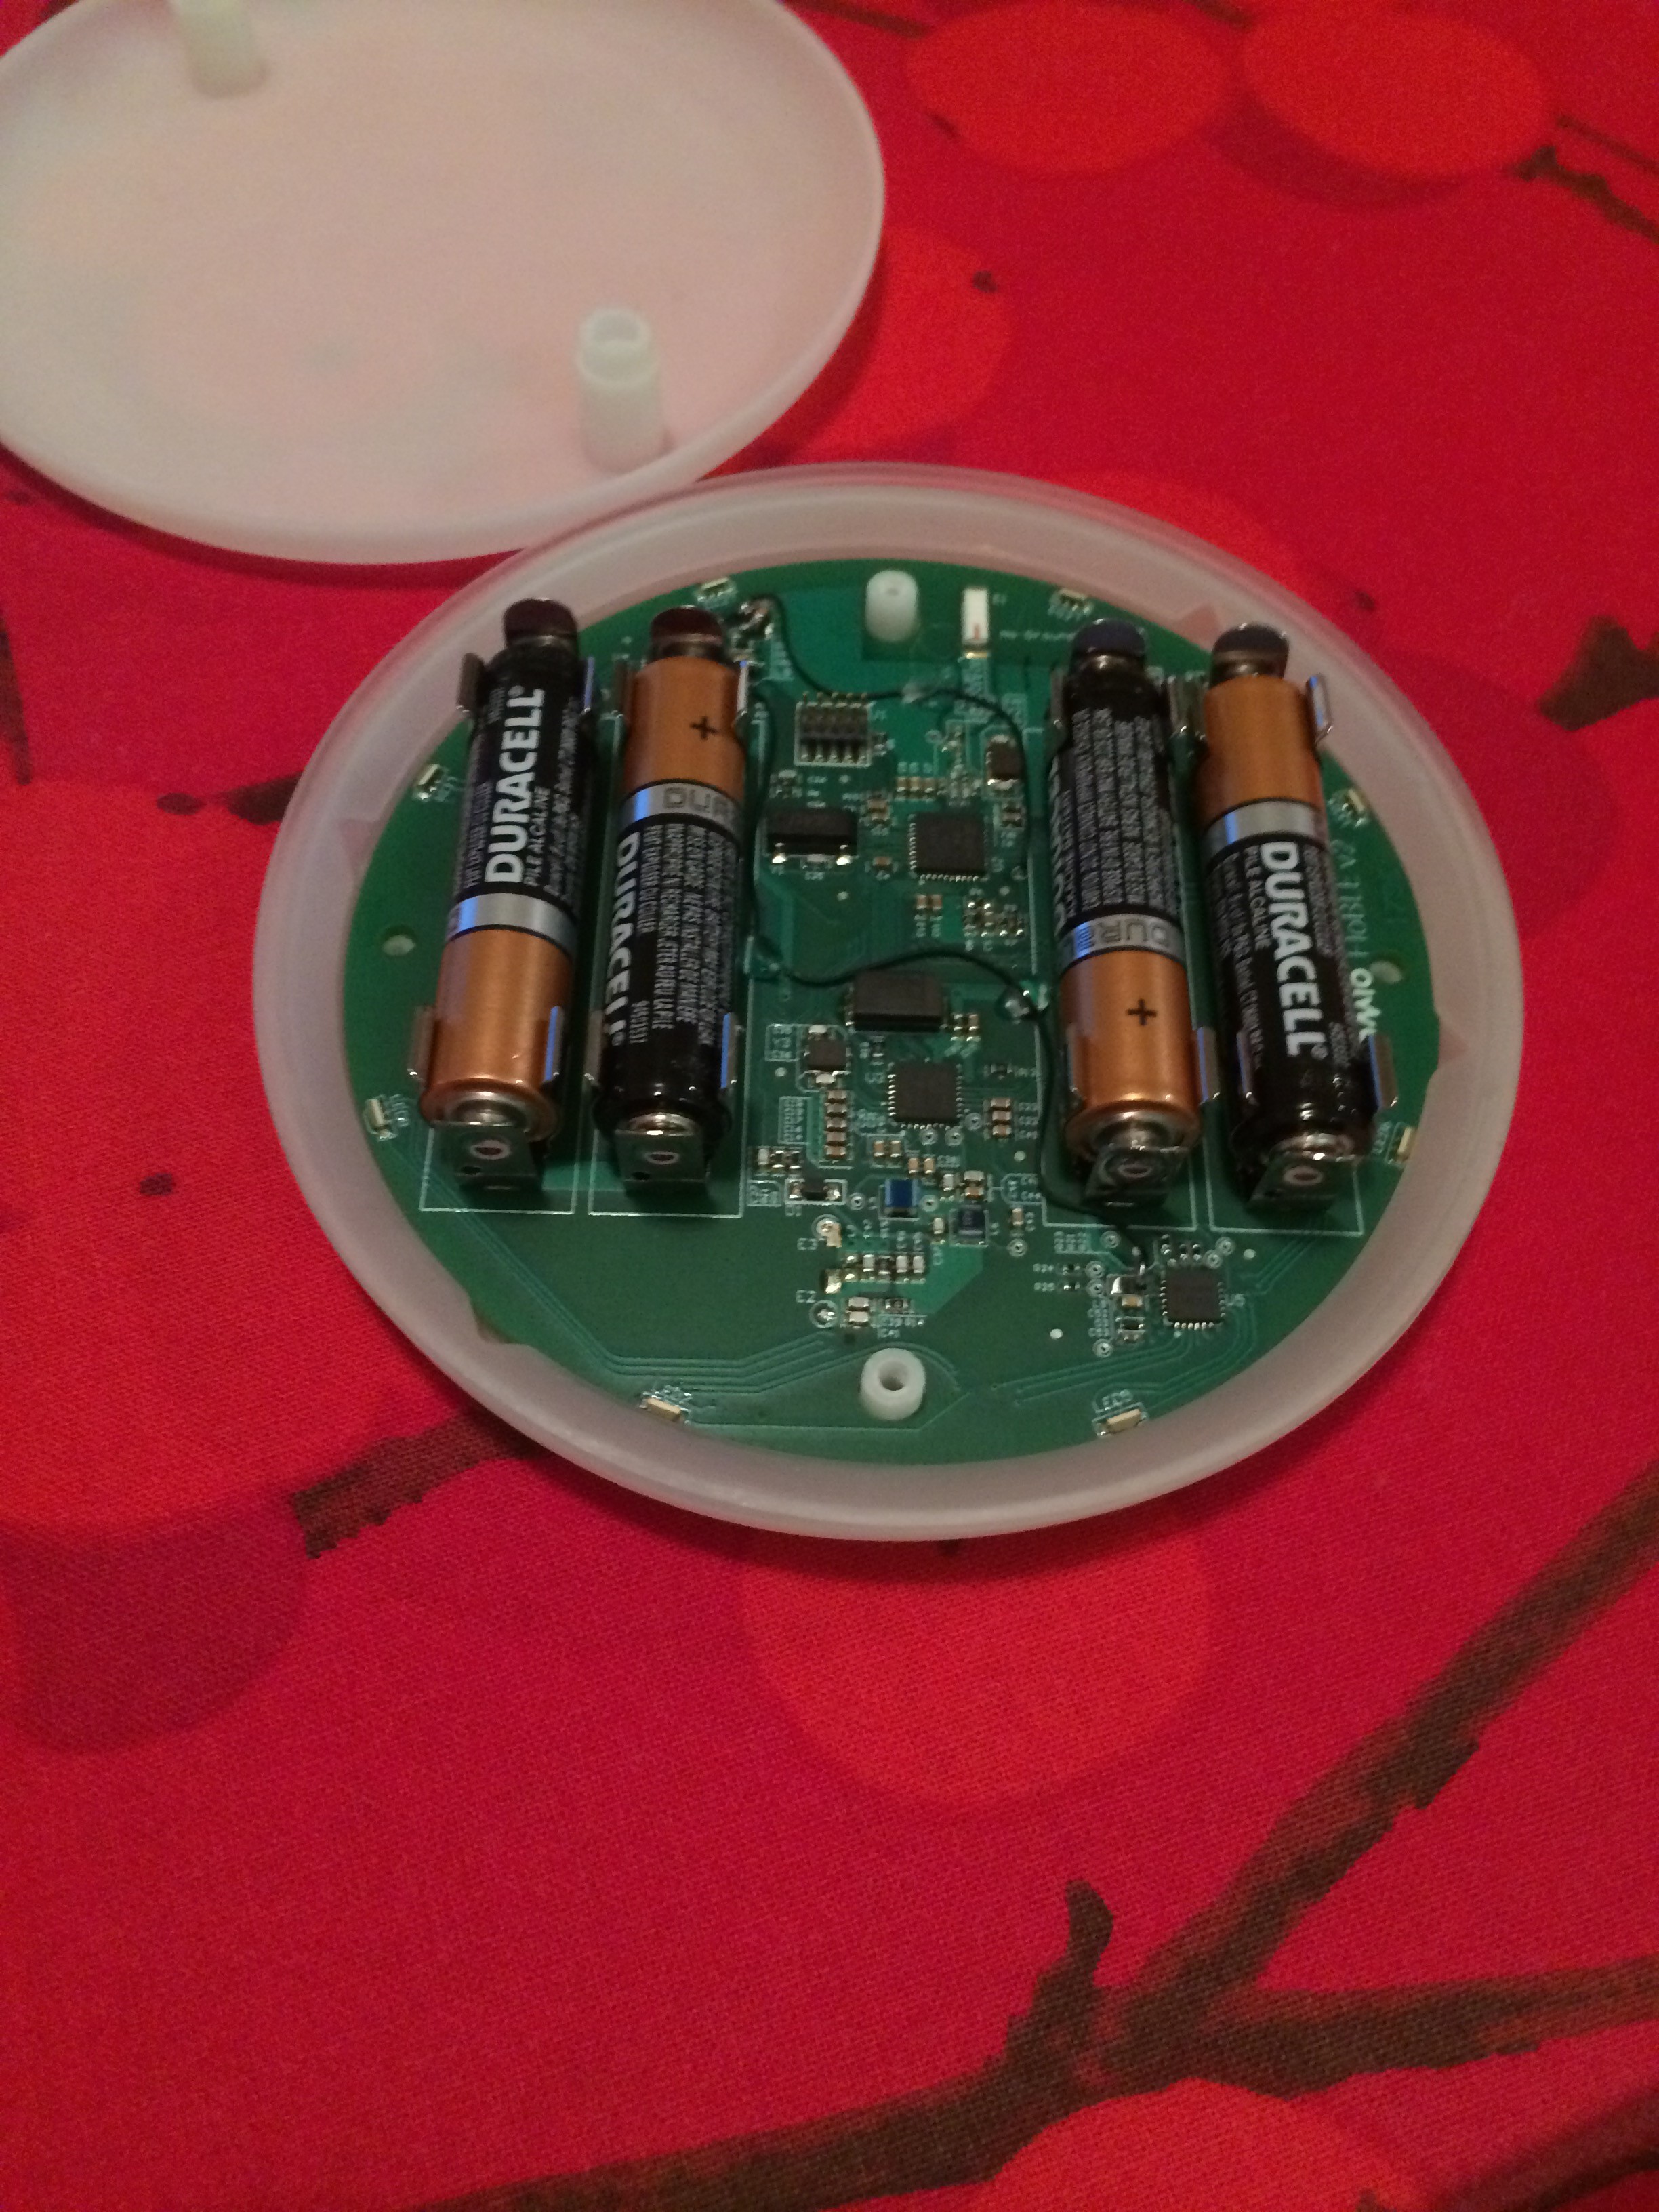
Place four fully charged batteries in the slots making sure to observer the polarity markings. Warning: Putting the batteries in incorrectly can permanently damage your FloBLE Mini. Do this step with care.
The FloBLE Mini should power up and flash it’s LED ring in a green swirl. If this does not occur within 3 seconds of inserting the batteries, your batteries might be worn out. The FloBLE Mini needs at least 1.3V from each cell to operate properly. It’s easy to check the battery voltage using a standard multimeter.
4Verify Setup is Working
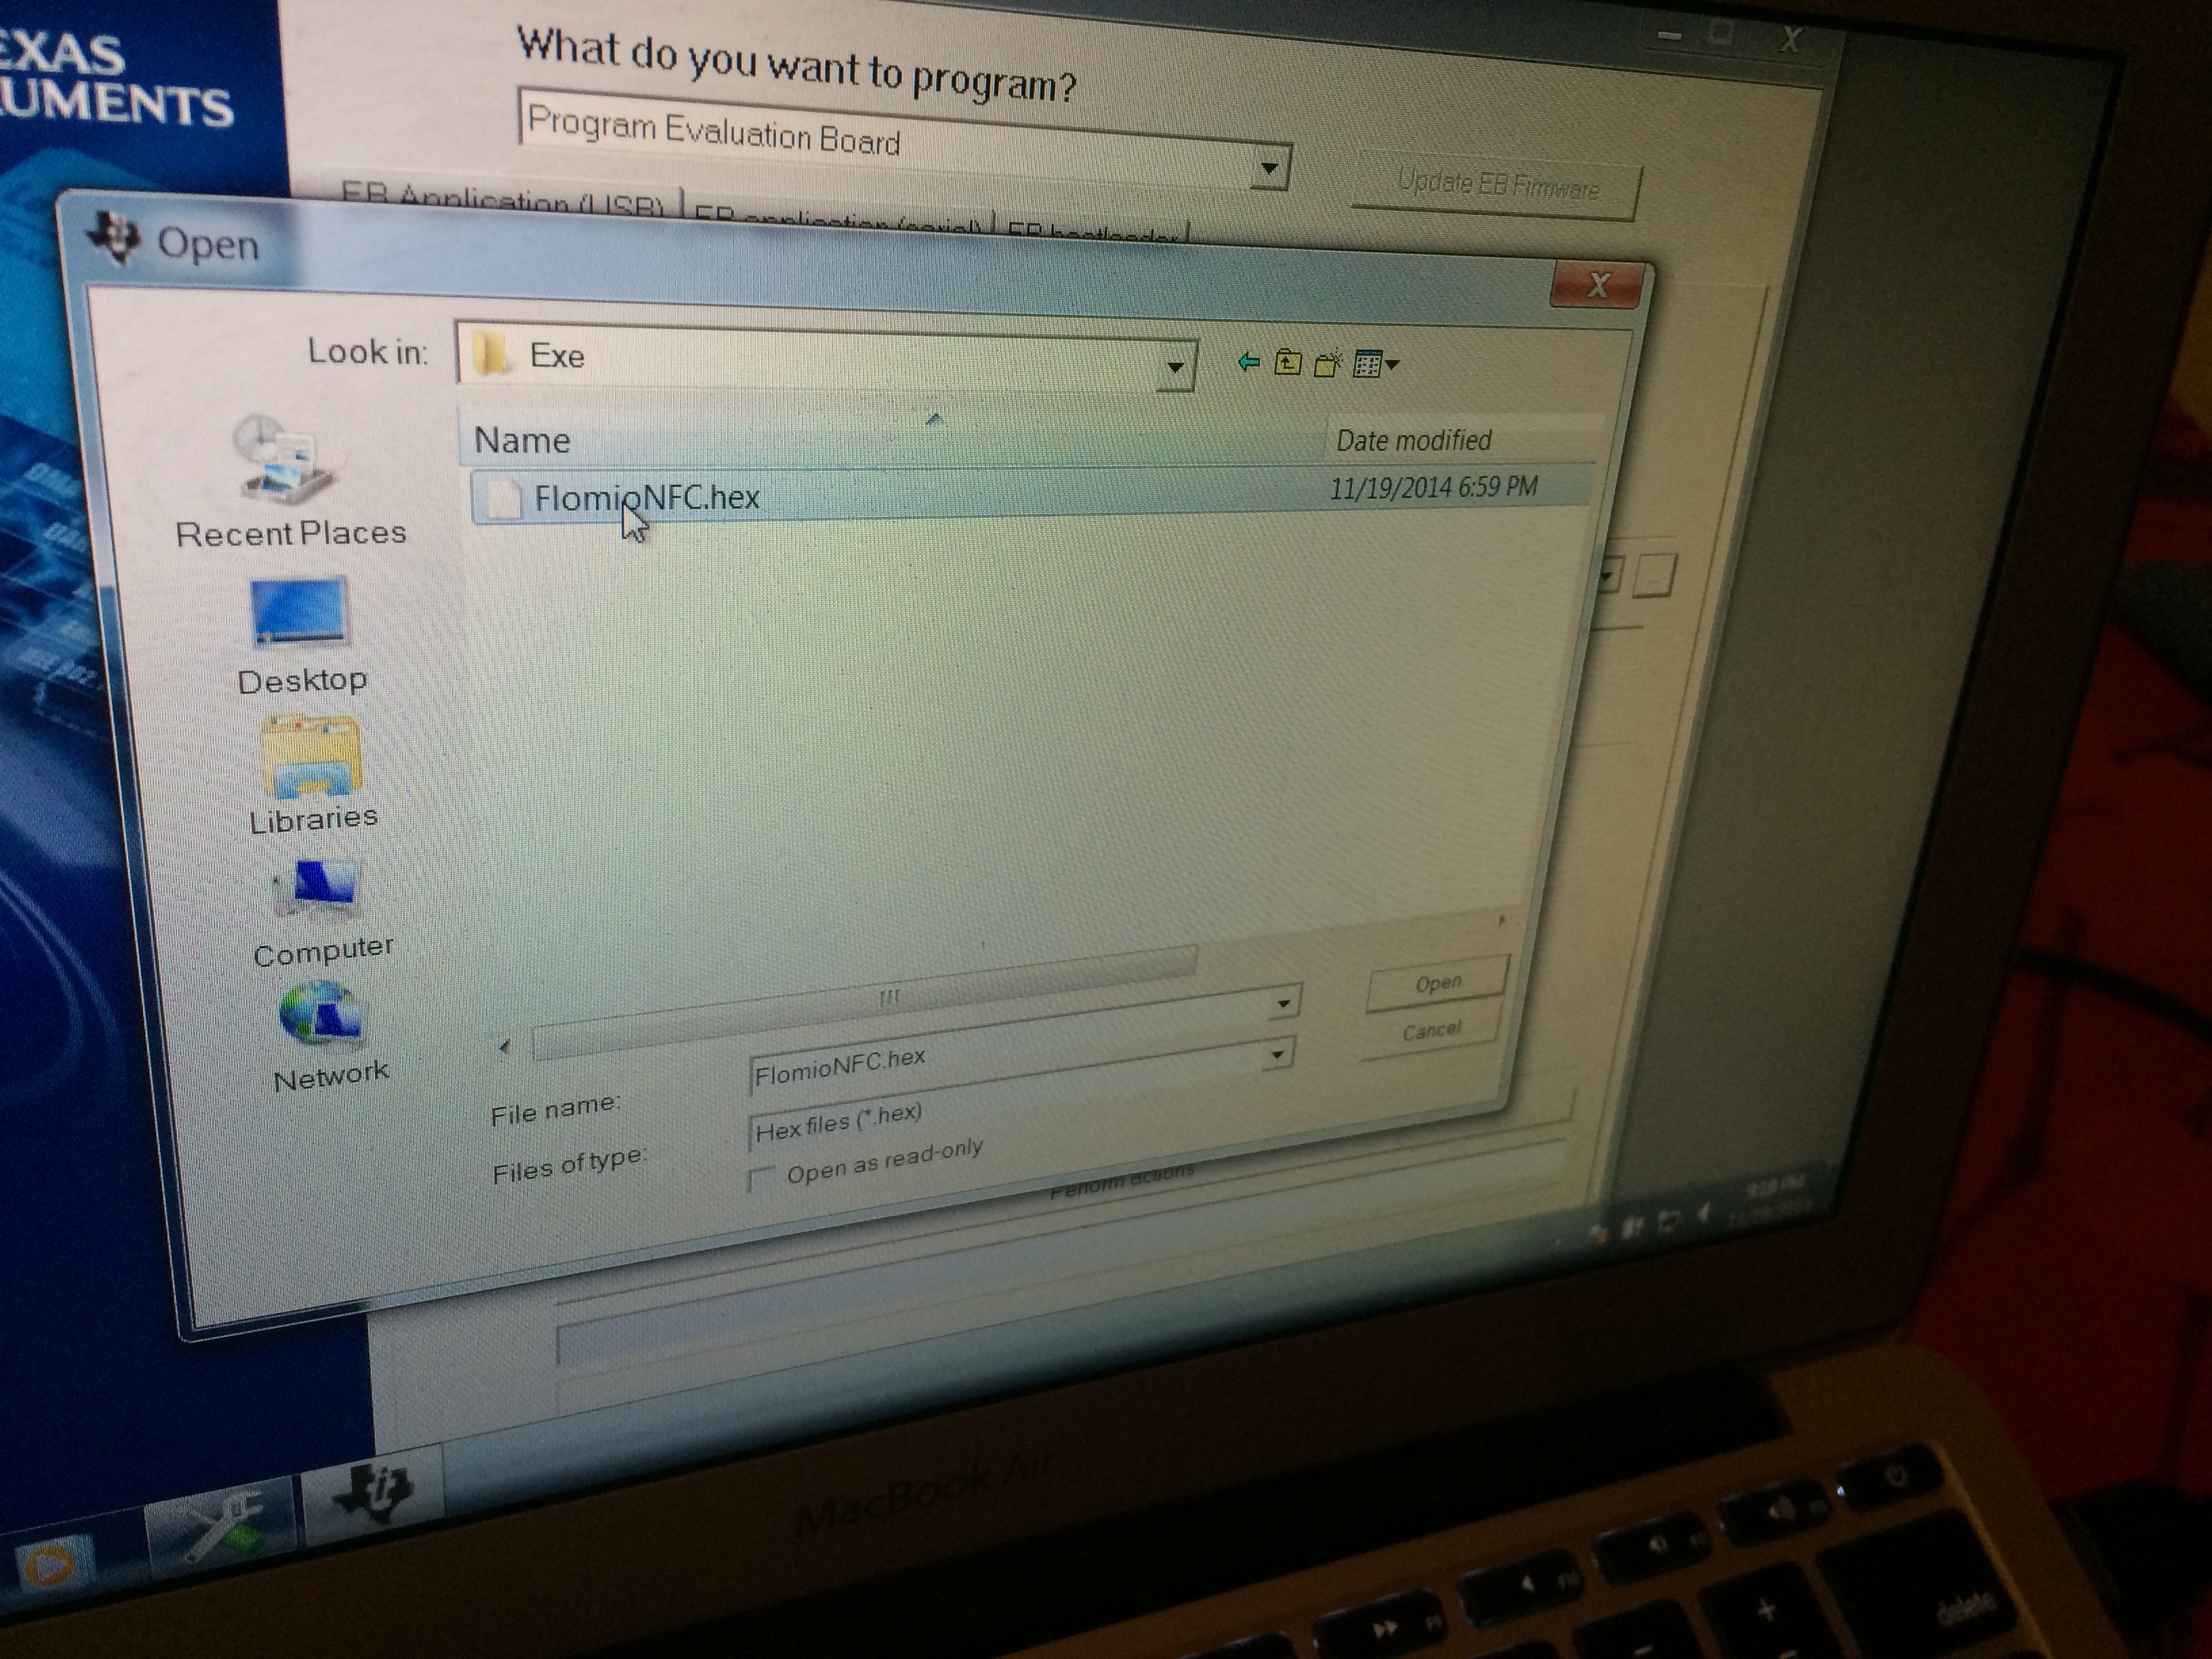
With the flashing software installed, JTAG plugged in, and batteries in place, you should be able to hit the Reset button on the JTAG box and see the LED indicator go from red to green. This will make the SmartRF Flash Programmer software recognize the FloBLE as a CC2540 chip type. Make sure the top dropdown is set to “Program CCxxxx SoC or MSP430”. Select the file browser “…” button to the right of the “Flash image:” area. Navigate to the location where you downloaded the latest FloBLE Mini firmware HEX file (look in Version/CC2540/Executable directory).
5Flash in the Firmware
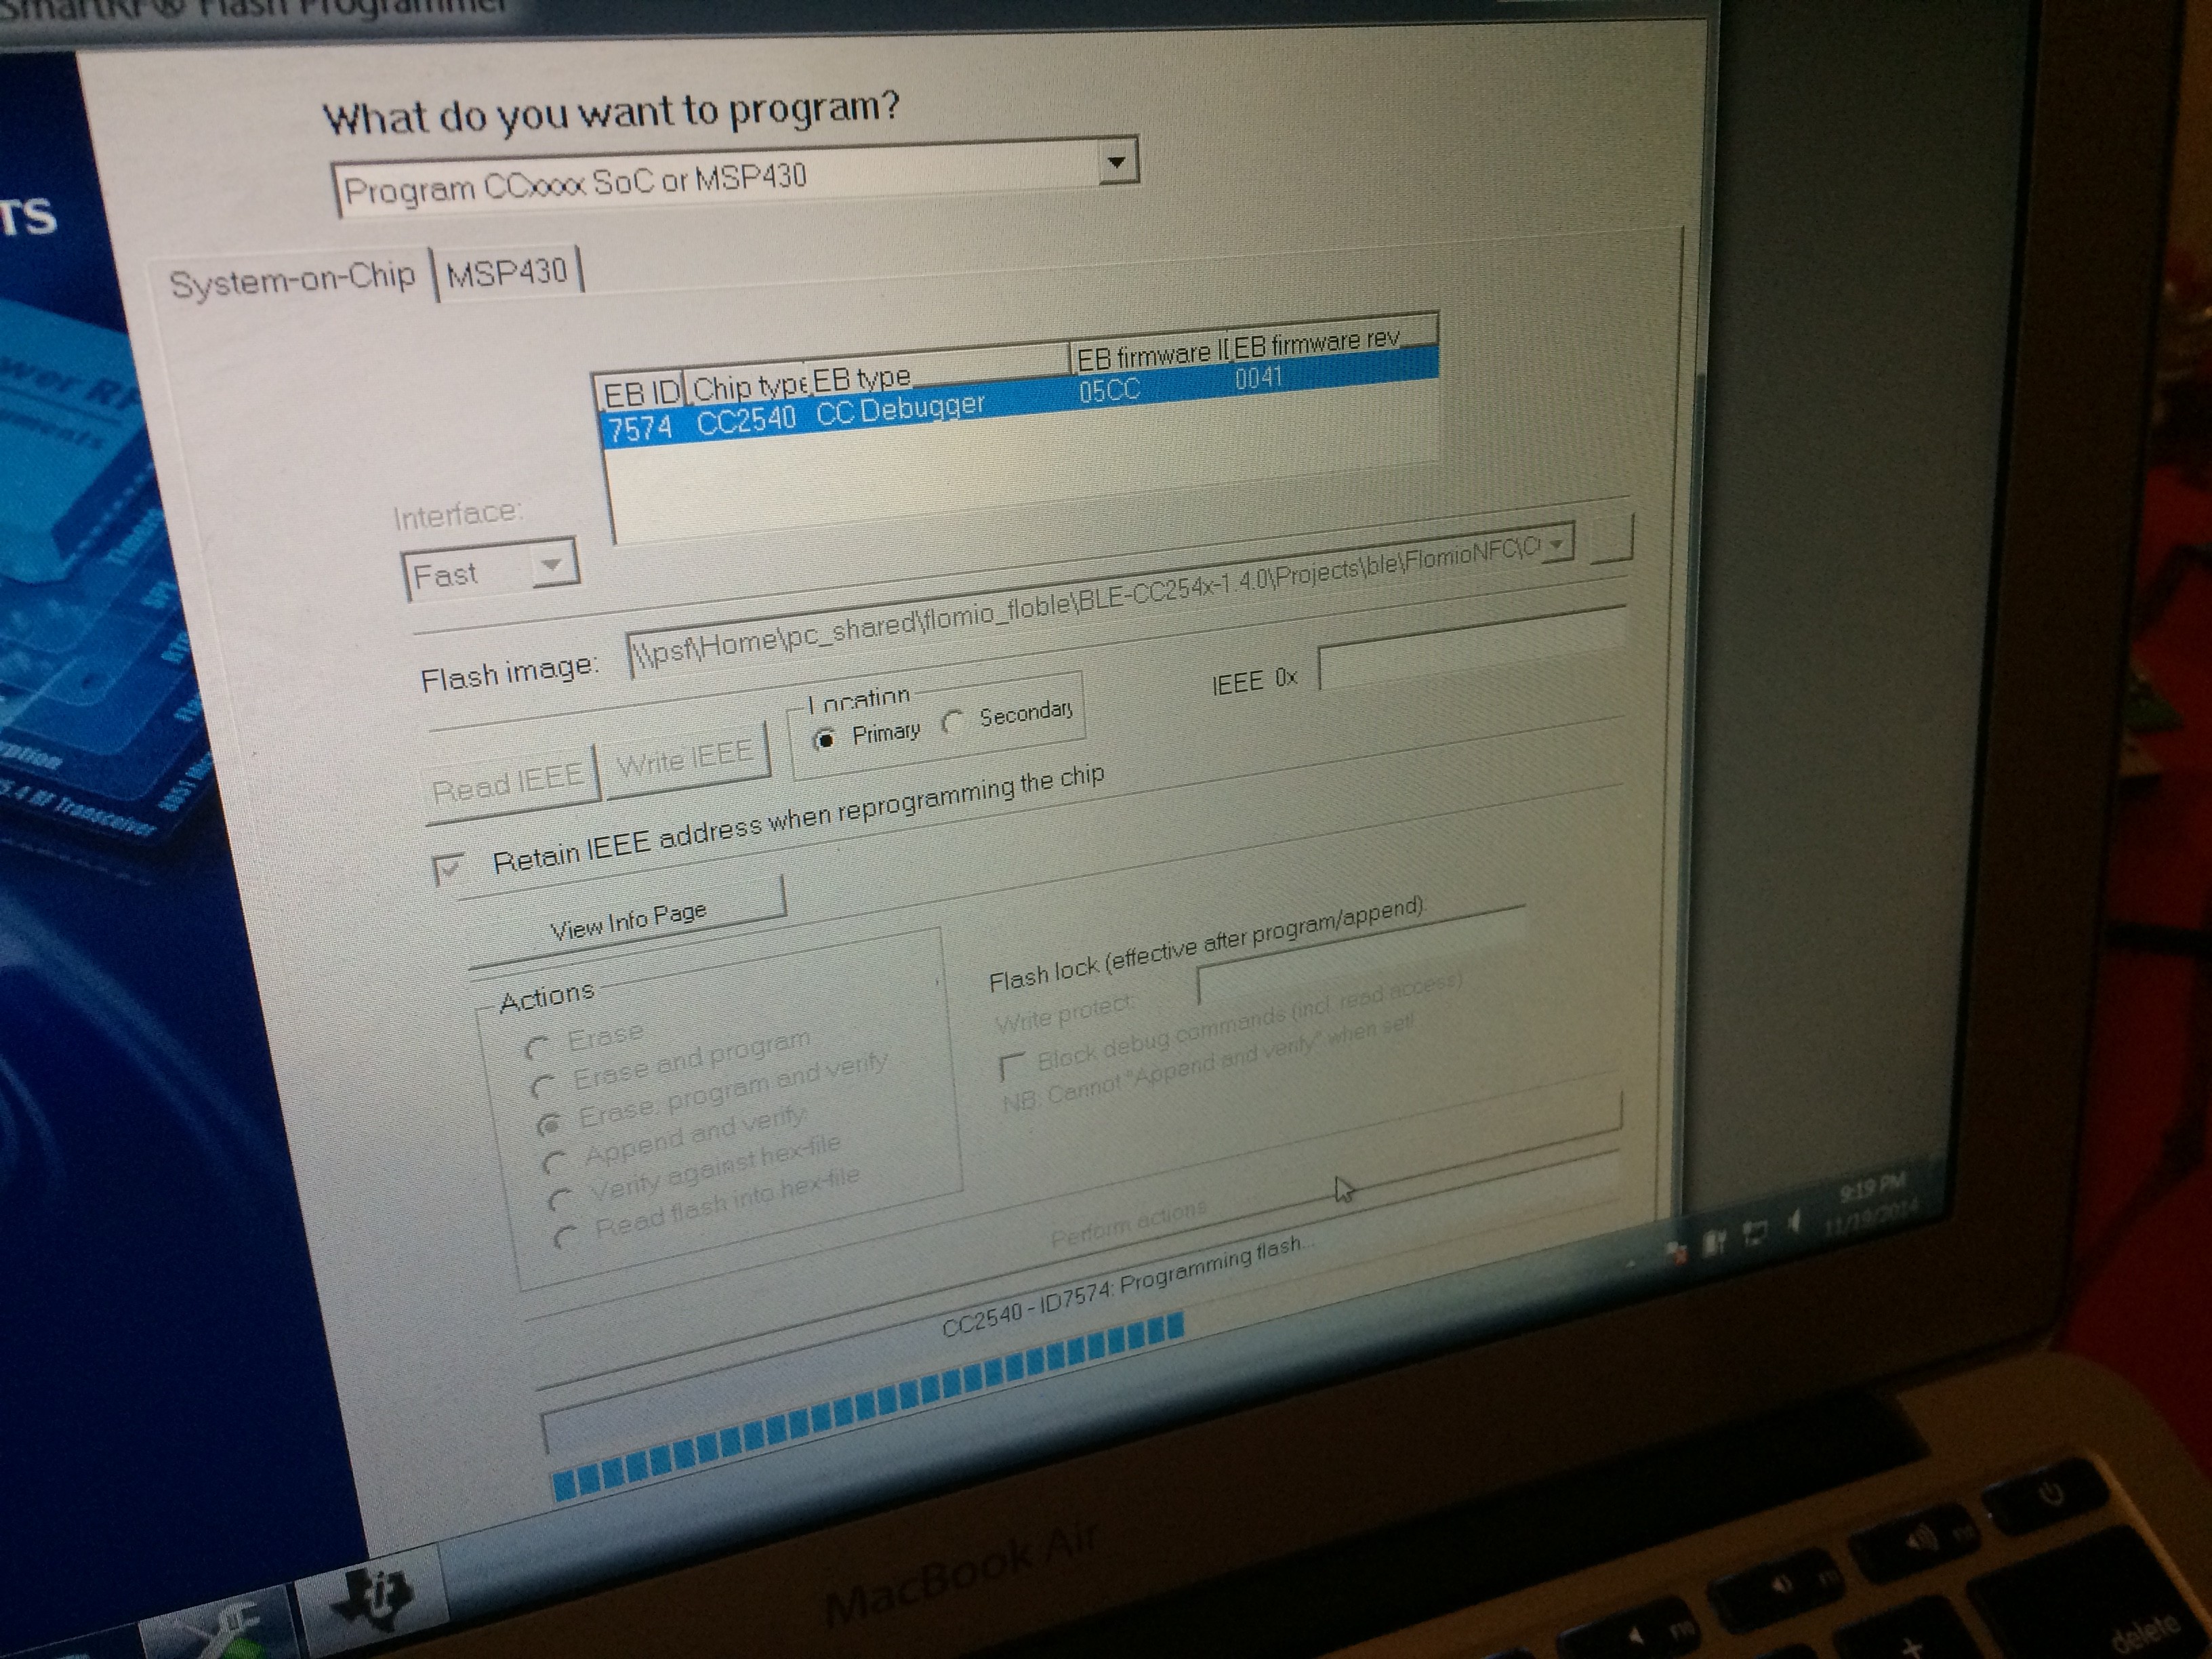
Select “Erase, program, and verify” under the “Actions” area and then click the “Perform actions” button at the bottom of the window. The progress bar will report the status. Do not disturbe anything from the setup until this delicate process has completed.
6Restarting the FloBLE Mini
With the new firmware flashed in, disconnect the JTAG ribbon cable from the FloBLE Mini. Pull out one battery and place it back in place to power cycle the device. After 3 seconds, you should observe the green LED swirl indicating the FloBLE Mini has initialized properly.
7Install the Flomio SDK
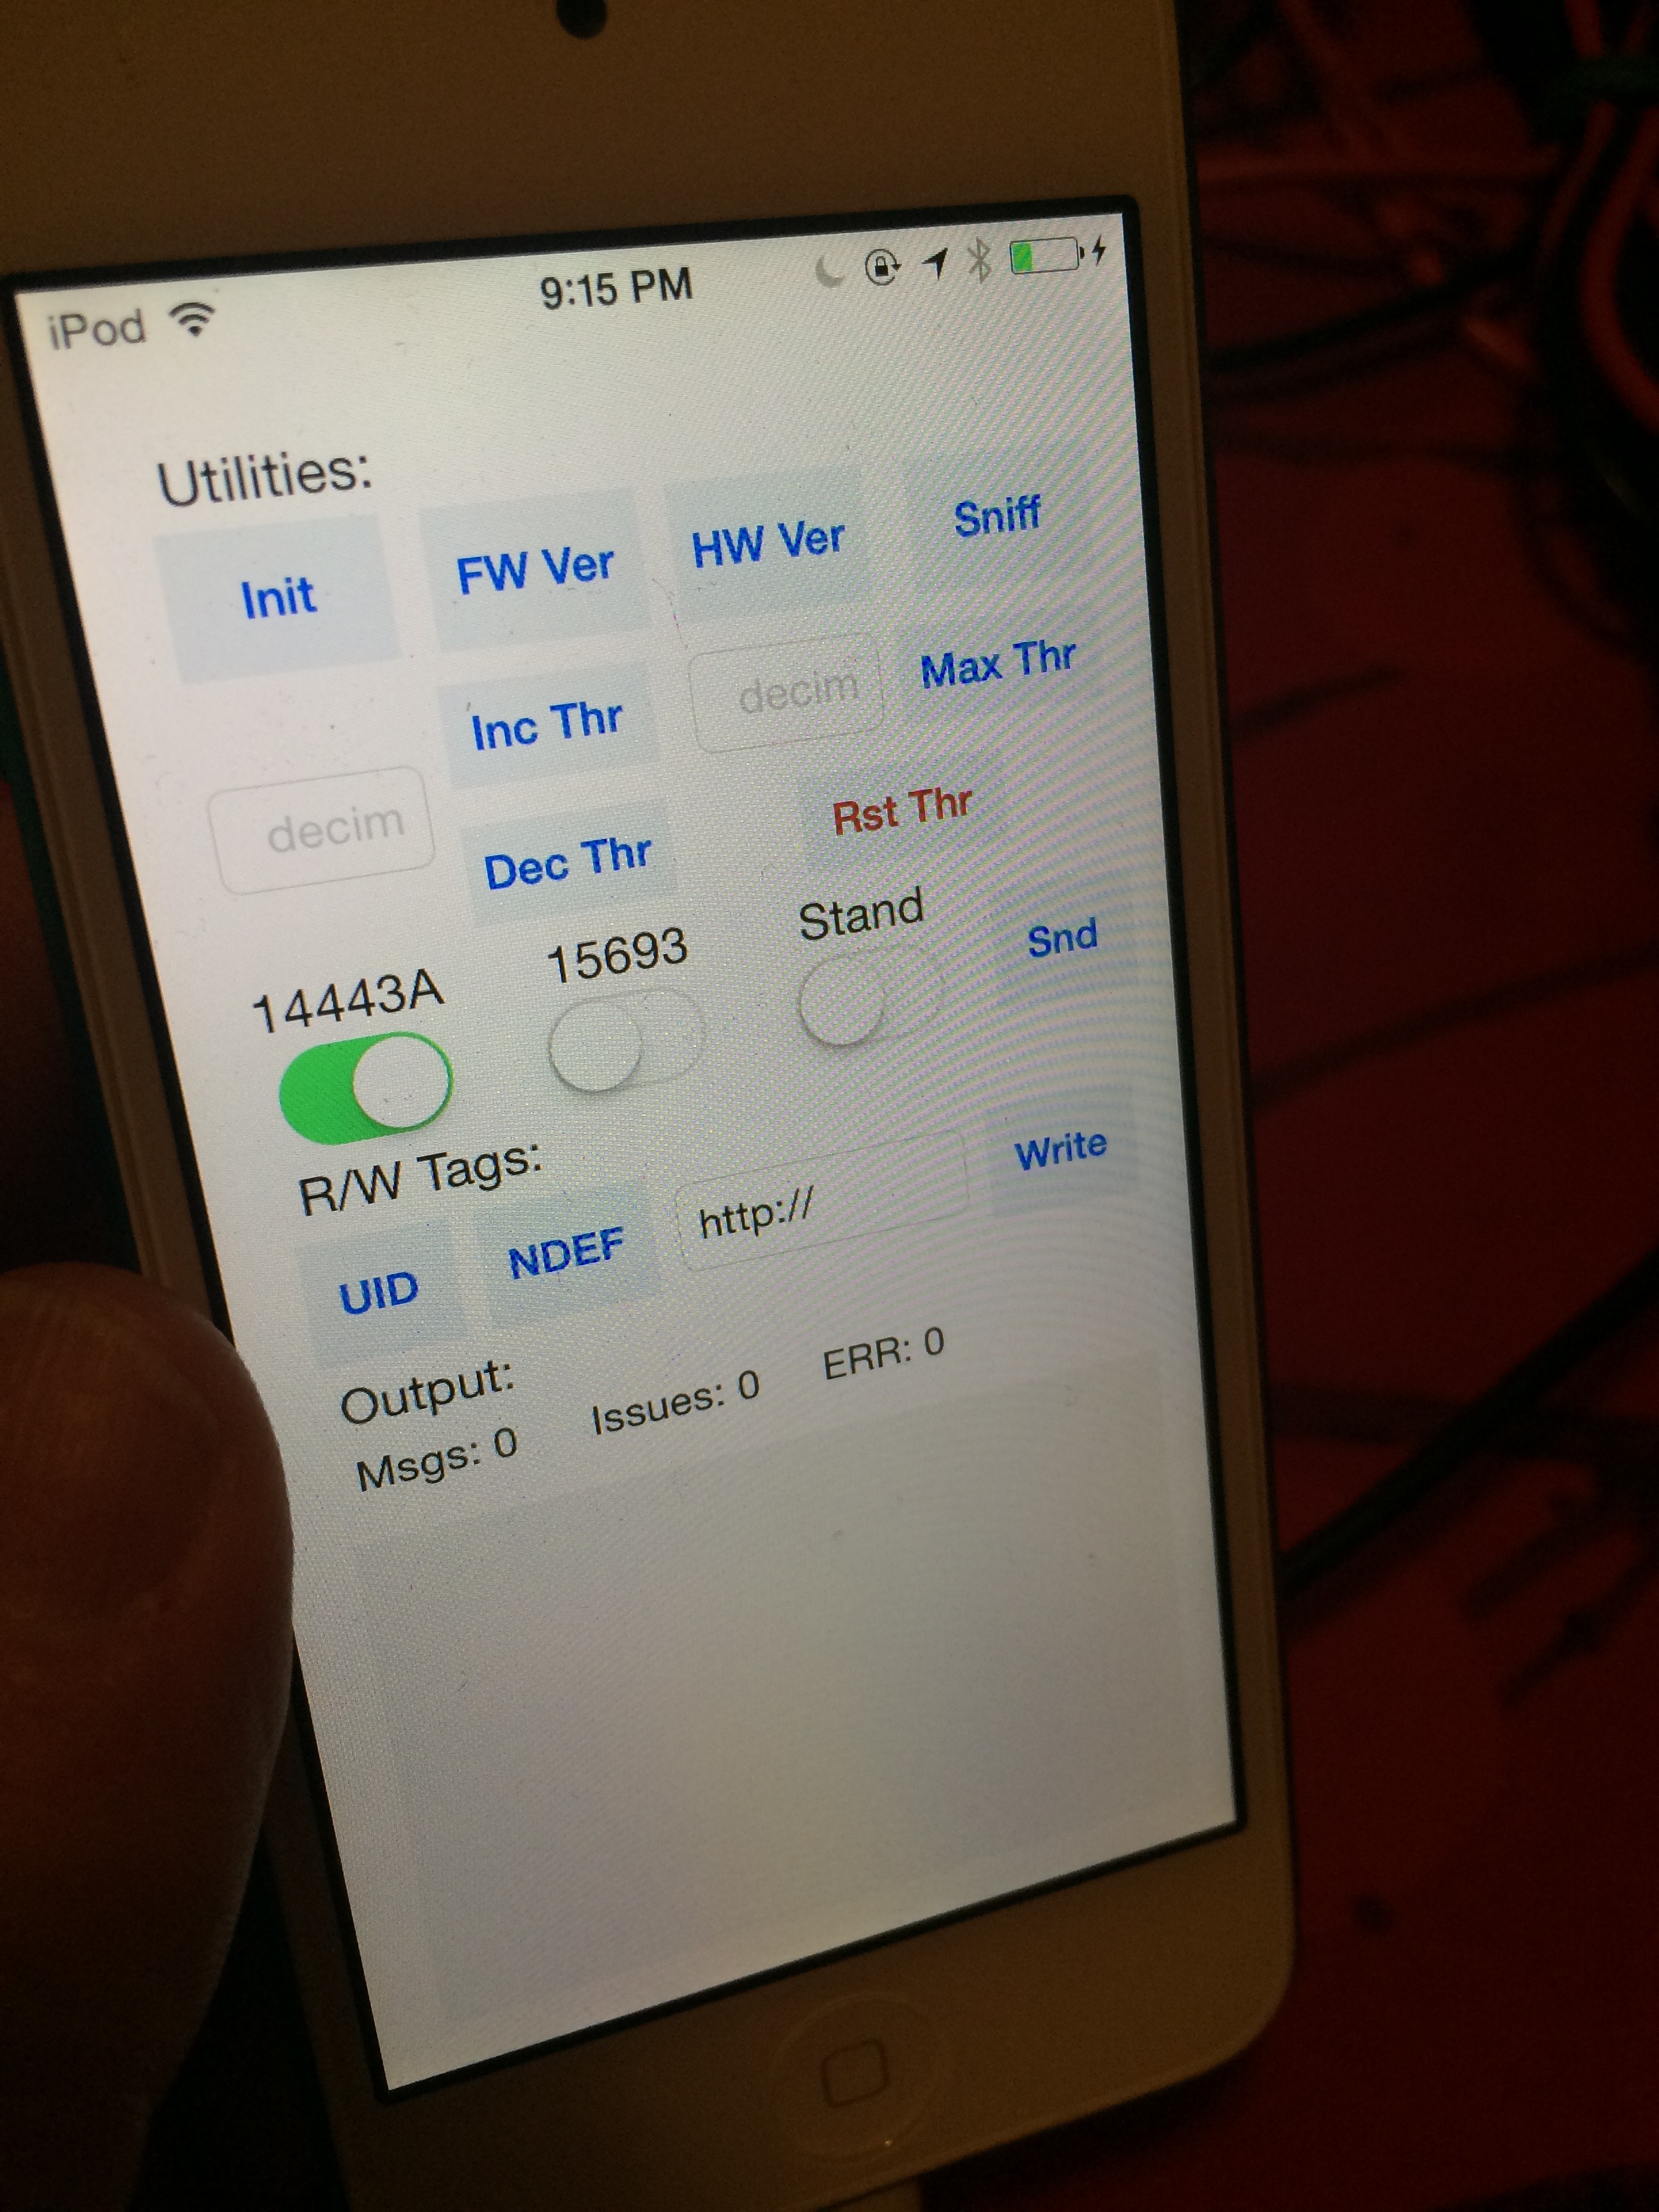
The FloBLE Mini runs off the Flomio SDK available on Github for iOS here. After downloading the source, launch Xcode, build the FloBLE Mini Example application, and install on iOS device (FloBLE Mini compatible iOS devices listed here). Launch the app and confirm that the iOS device’s Bluetooth function is enabled.
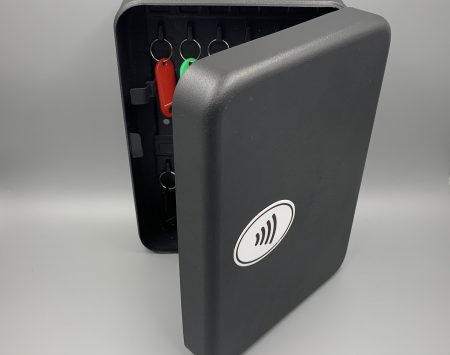
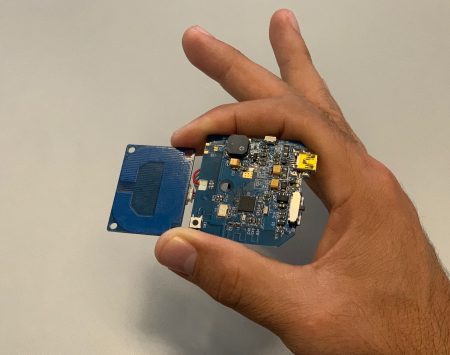
8 Scanning an NFC Tag
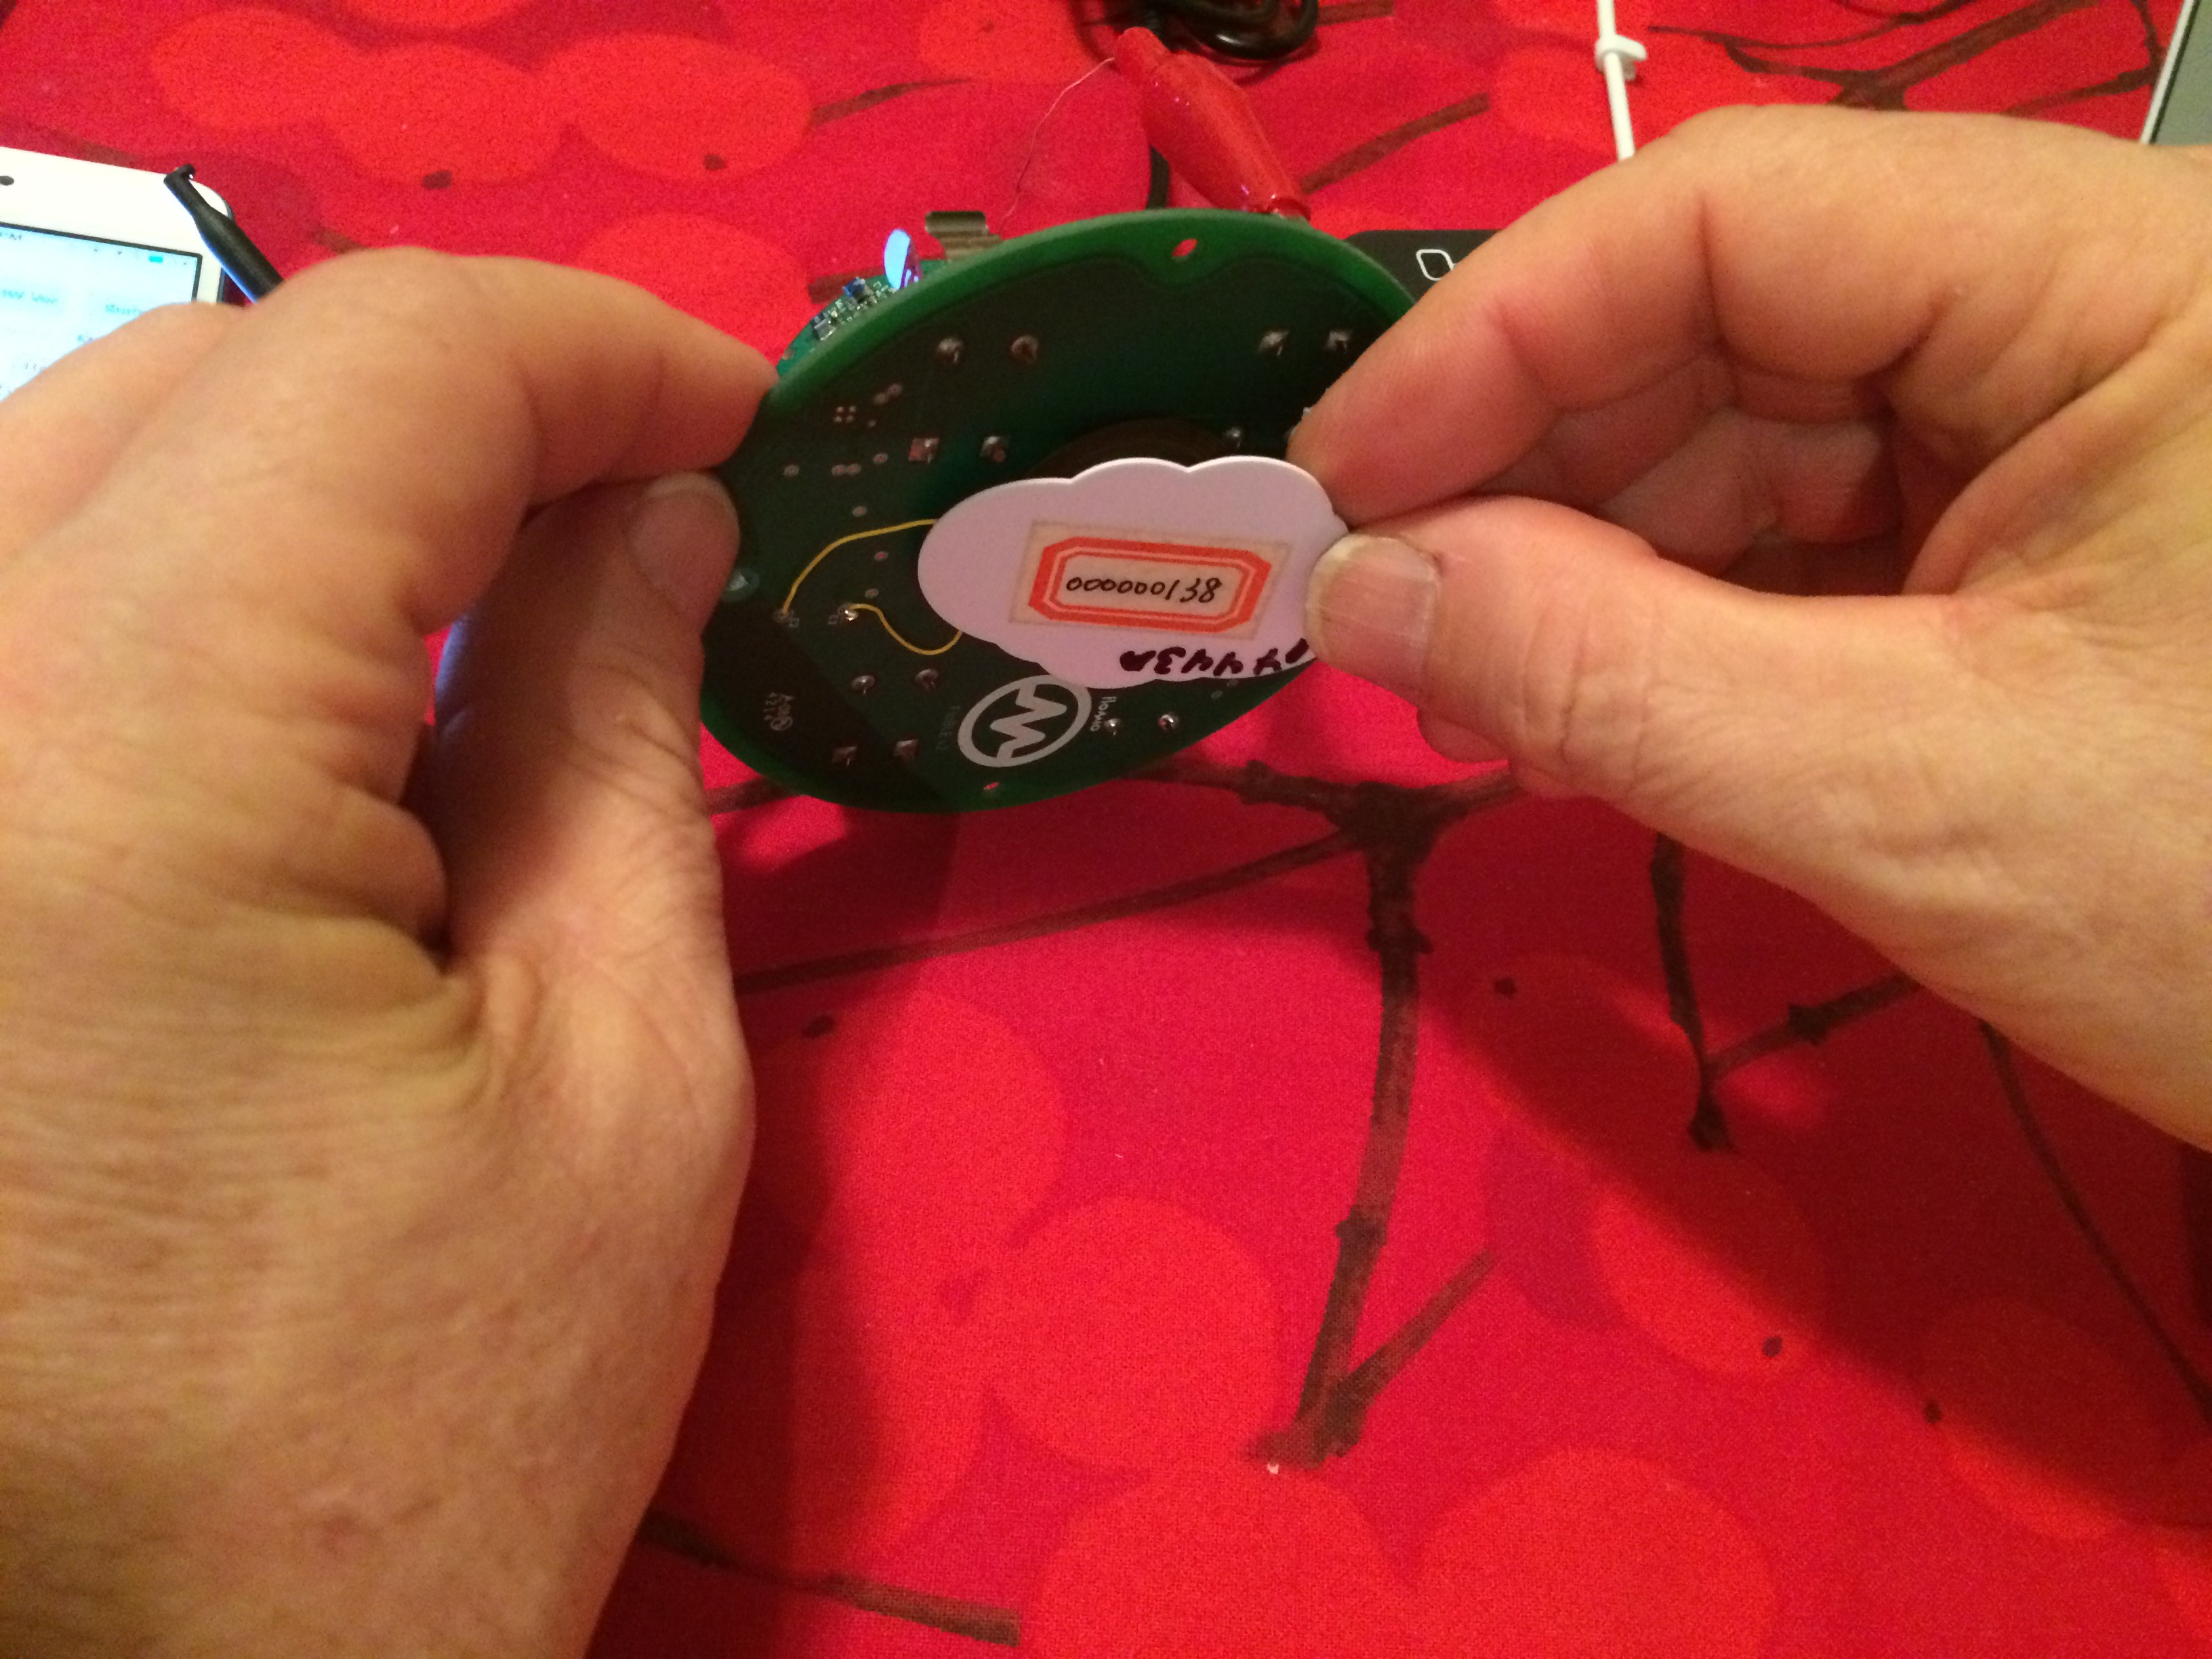
- Using the sample tag included with your FloBLE Mini, press the tag firmly against the front of the reader or antenna coil if case is off (as shown here).
- You will see the green LED pattern change to a circular loop and then begin glowing blue. This may take a second or two.
- If you don’t see the green LED pattern change, move the tag away from the reader and try again.
- If this still doesn’t work, let us know on the Forums.
9Verifying Successful NFC Tag Read
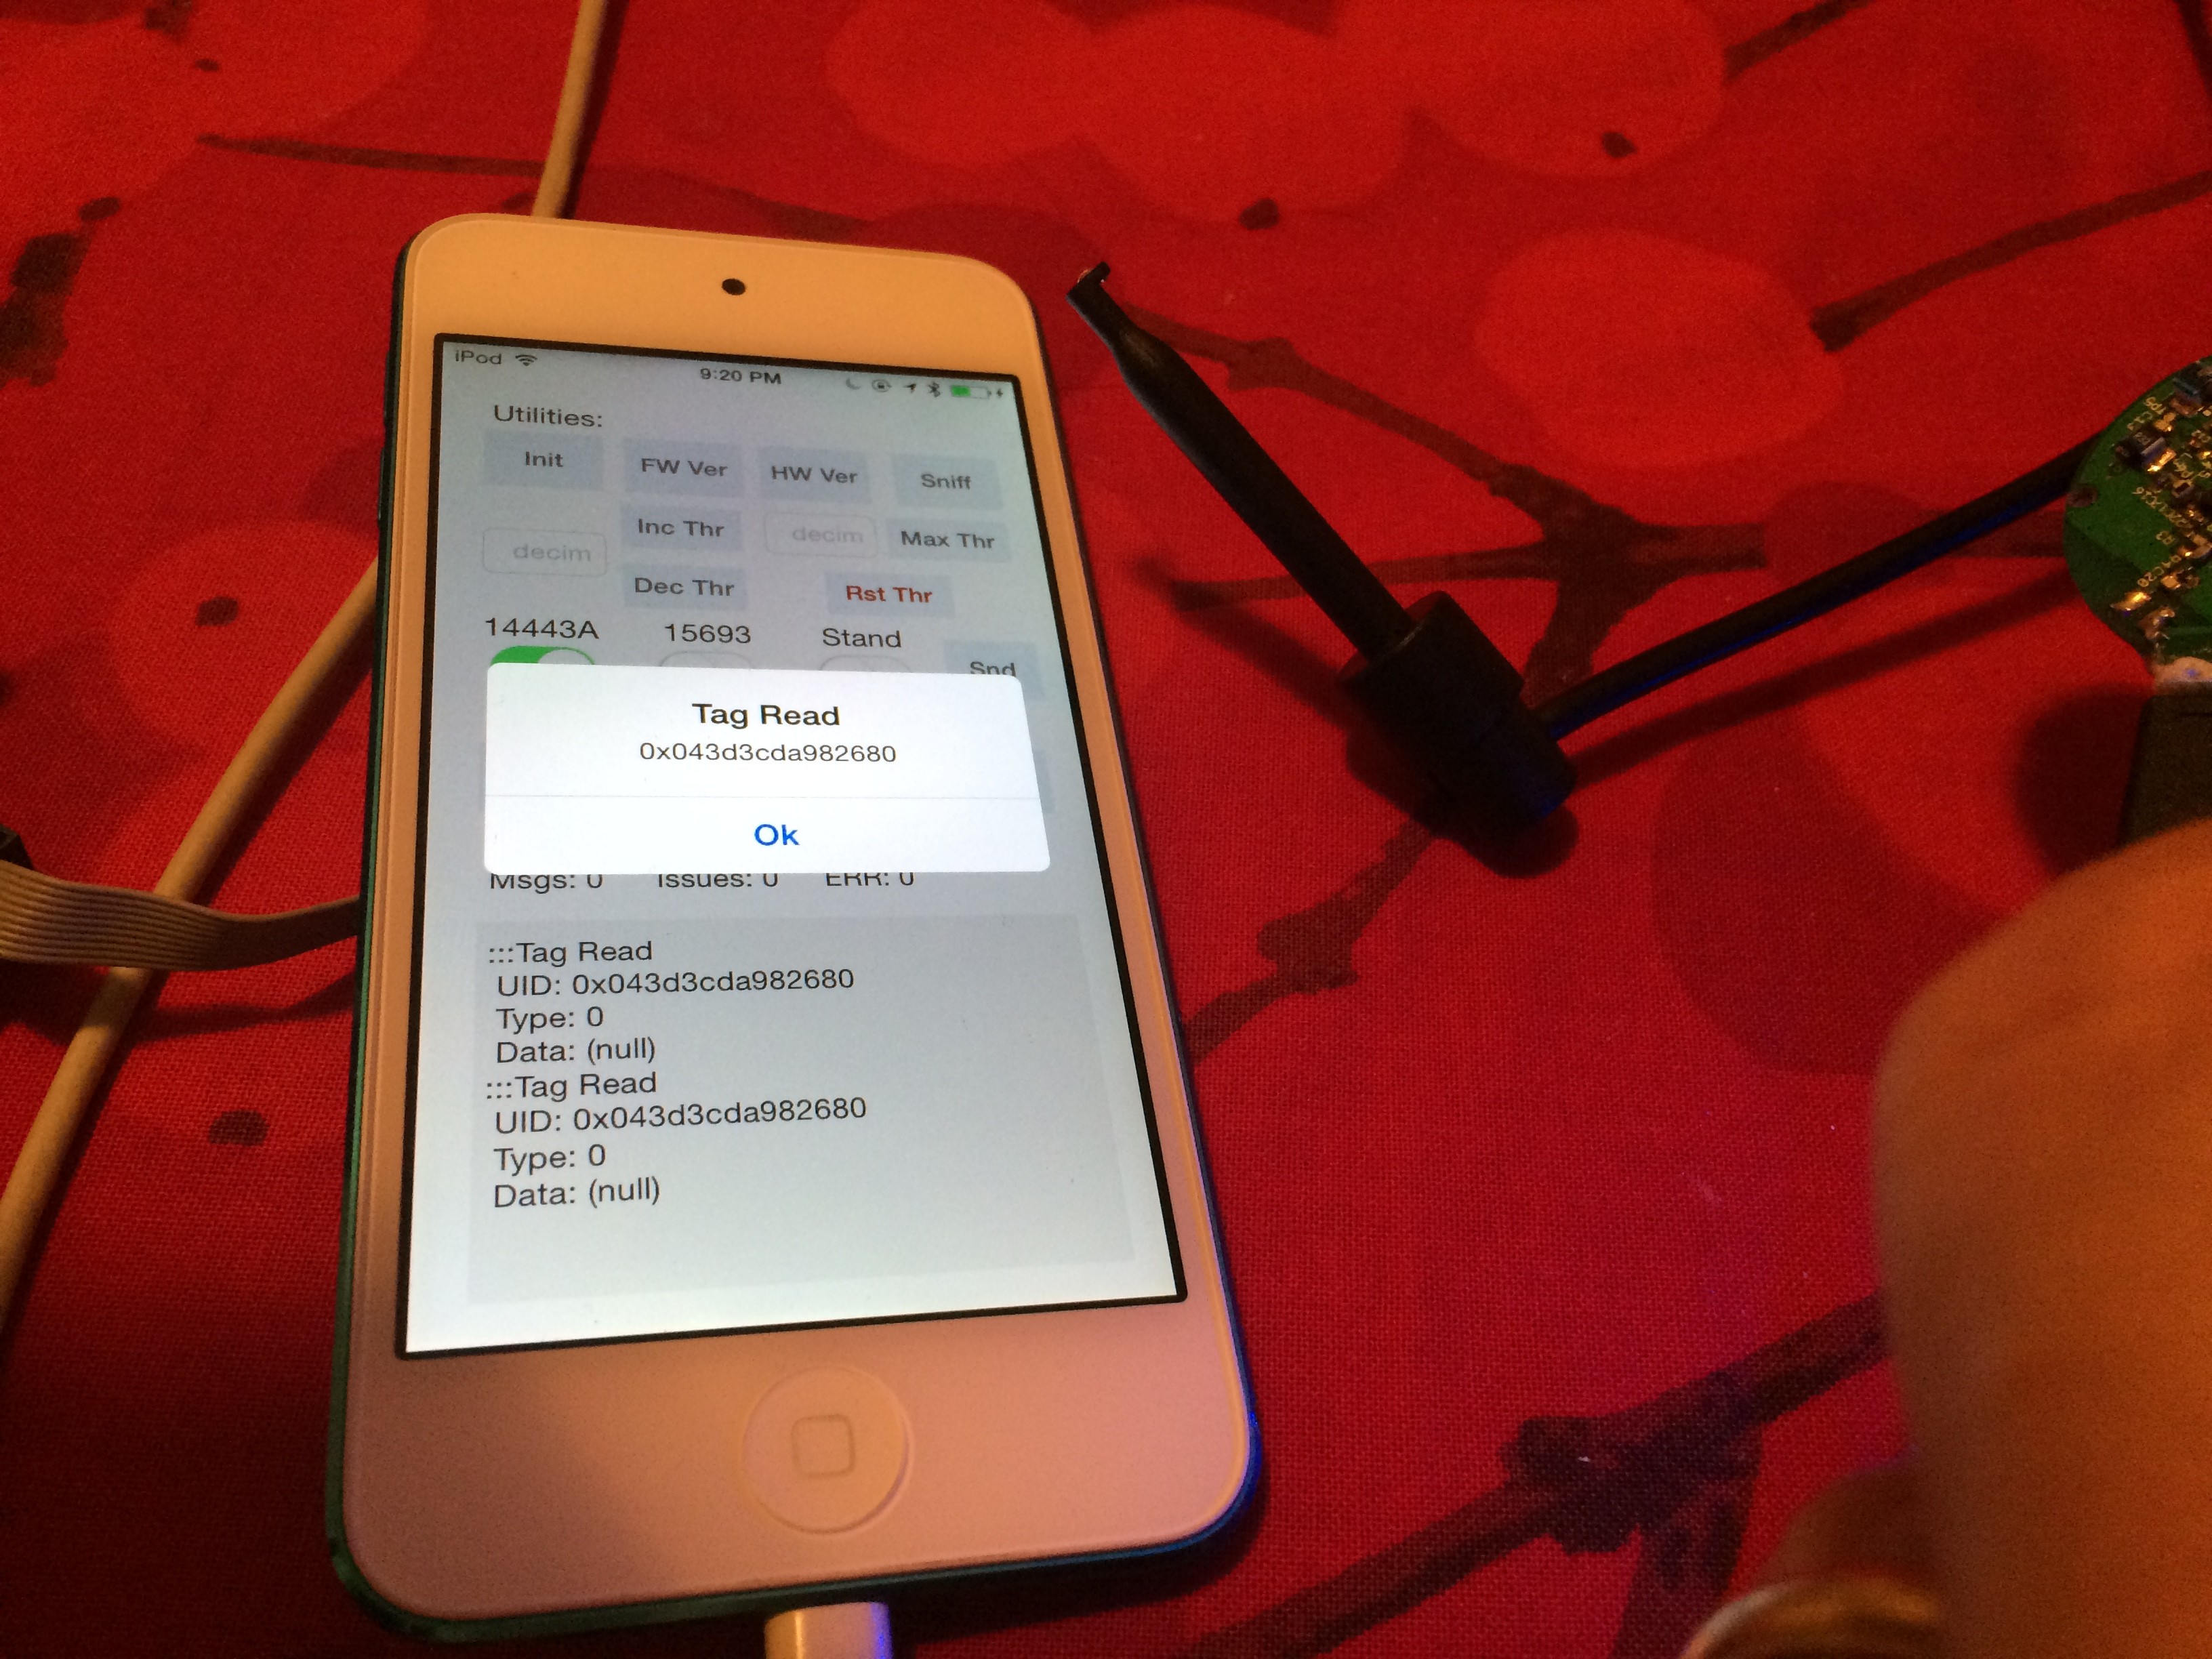
Once you properly read the NFC tag, you should receive a “Tag Read” notification on the FloBLE Mini Example application. The UUID of the NFC tag will be listed. To confirm the tag UUID was read correctly, you can use NFC TagInfo on an Android NFC-enabled device to validate the UUID matches.
10The iOS Logs
If you’re encountering issues after step 7 we’ll need to see your device logs to help. You can find these by
- sync your iOS device with iTunes
- copy the log from:
- OSX: ~/Library/Logs/CrashReporter/MobileDevice/<your iOS device’s name>
- Windows: C:\Users\AppData\Roaming\Apple computer\Logs\CrashReporter\MobileDevice\<your iOS device’s name>
Then post them on the Forums and we’ll have a look.